AT&T EL52251 User Manual
Browse online or download User Manual for Telephones AT&T EL52251. AT&T EL52251 User's Manual
- Page / 83
- Table of contents
- TROUBLESHOOTING
- BOOKMARKS
- EL52201/EL52251/ 1
- EL52301/EL52351/EL52401 1
- DECT 6.0 cordless telephone/ 1
- Congratulations 2
- Parts checklist 3
- Telephone settings 4
- Telephone operation 4
- Directory 4
- Caller ID 5
- Answering system 5
- Appendix 5
- You must install and charge 6
- See pages 5 and 6 for 6
- Quick reference guide 7
- 1 (866) 288-4268 9
- Getting started 10
- IMPORTANT INFORMATION: 10
- CHARGE light 10
- 11/20 11
- Wall mount installation 12
- DSL filter 13
- Menu overview 15
- Handset settings 16
- Telephone base ringer volume 20
- Answering system settings 20
- 888-722-7702 21
- 888-722-7702 23
- EDIT NUMBER 24
- 888-722-7702_ 24
- EDIT NAME 24
- MUTE 11/20 25
- Options while on calls 26
- Handset locator 28
- Intercom 29
- Call transfer using intercom 30
- Directory overview 31
- Create directory entries 32
- Review the directory 34
- Speed dial locations 36
- About caller ID 38
- Caller ID history 39
- Caller ID operation 40
- Answering system overview 49
- Message playback 52
- Recording and playing memos 55
- Message window displays 56
- Remote access 57
- Screen icons 59
- Handset indicator lights 59
- Handset alert tones 60
- Telephone base alert tones 60
- /ANS. ON/OFF light 60
- Troubleshooting 63
- Maintenance 72
- Important safety information 73
- FCC Part 68 and ACTA 75
- FCC Part 15 76
- Limited warranty 77
- Technical specifications 79
- Remote access wallet card 82
Summary of Contents
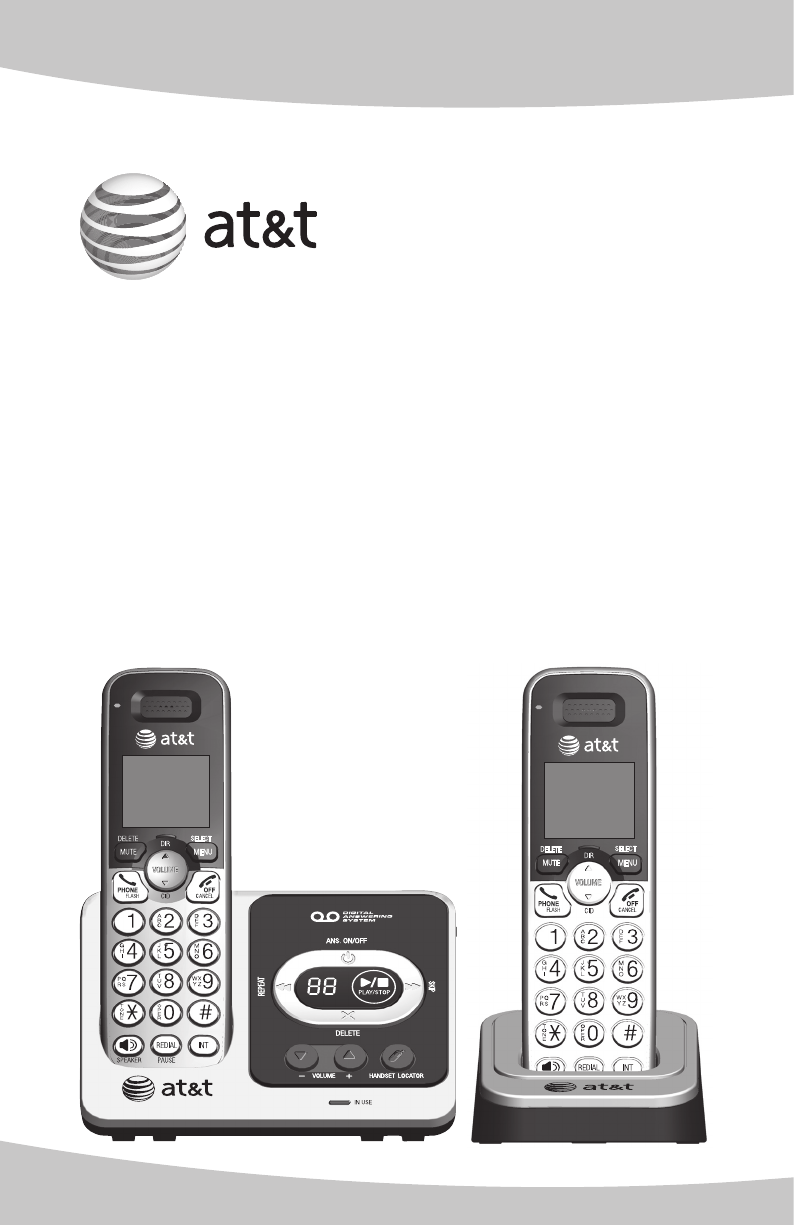
User’s manual (Canada version)EL52201/EL52251/ EL52301/EL52351/EL52401 DECT 6.0 cordless telephone/answering system with caller ID/call waiting
Getting started5Battery installation and chargingBattery installationInstall the battery as shown below.IMPORTANT INFORMATION:Use only the supplied re
6Getting startedBattery installation and chargingBattery chargingOnce you have installed the battery, the screen indicates the battery status (see th
Getting started7Wall mount installationThe telephone base comes ready for tabletop use. If you want to mount your telephone on a wall, use the provide
8Getting startedWall mount installationPlug the other end of the telephone line cord into the telephone wall jack. Plug the large end of the base powe
Getting started9Wall mount installationWall mount to tabletop installationTo change the telephone base from wall mount installation to tabletop instal
10Menu overviewUse the menu to change the telephone settings.Press MENU/SELECT in idle mode (when handset is not in use) to enter the main menu.Press
11Telephone settingsHandset settingsRinger volumeYou can set the handset ringer volume level (1-6), or turn the ringer off. When the ringer is off,
12Telephone settingsHandset settingsVoicemail waiting (visual message waiting) indicatorIf you subscribe to a voicemail service offered by your teleph
13Telephone settingsHandset settingsKey toneThe handset is programmed to beep with each key press. You can turn the key tone off, so there are no beep
14Telephone settingsHandset settingsHome area codeIf you dial seven digits to make a local call (no area code required), enter your area code into the
Congratulationson purchasing your new AT&T product. Before using this AT&T product, please read Important safety information on pages 68-69 of
15Telephone settingsTelephone base ringer volumeWhen the telephone base is not in use, press / /-VOLUME+ on the telephone base to set the ringer volu
16Making, answering and ending callsMaking a callTo make a call:Press PHONE/FLASH, then wait for a dial tone. -OR- Press /SPEAKER to use the speaker
17Telephone operationMaking, answering and ending callsAnswering a callPress any dialing key (0-9, or #) or PHONE/FLASH. -OR- Press /SPEAKER to us
18Telephone operationRedialEach handset stores the 10 most recently called numbers in the redial list.View numbers in the redial listPress REDIAL/PAUS
19Telephone operationRedialCopy a number from the redial list to the directoryPress REDIAL/PAUSE.Press CID or DIR to scroll to the number you want t
20Telephone operationOptions while on callsVolume controlWhile on a call, press DIR/VOLUME to increase or CID/VOLUME to decrease the listening volume
21Telephone operationOptions while on callsTemporary tone dialingIf you have dial-pulse (rotary) dialing service only, you can temporarily switch from
22Telephone operationOptions while on callsTo access the redial list while on a call:Press REDIAL/PAUSE. The screen shows the number most recently cal
23Telephone operationHandset locatorYou can use the handset locator feature to find misplaced handsets.To start the paging tone:Press /HANDSET LOCATO
24Telephone operationIntercomMake and answer an intercom callUse the intercom feature for conversations between handsets.Press INT on your handset whe
Parts checklistYour telephone package contains the following items. Save your sales receipt and original packaging in the event warranty service is ne
25Telephone operationCall transfer using intercomUse the intercom feature to transfer an outside call to another system handset. During a call, press
26Directory overviewShared directoryThe directory is stored in the telephone base, and is shared by all handsets. Changes made to the directory on any
27DirectoryCreate directory entriesAdd a new contactPress MENU/SELECT in idle mode.Press CID or DIR to scroll to >DIRECTORY, then press MENU/SELE
28DirectoryCreate directory entriesCharacter chart:Dialing keyCharacters by number of key press1 2 3 4 5 6 7 8 9 10 111 1 . - ‘ ( ) * # & / ,2 a b
29DirectoryReview the directoryReview directory entriesPress DIR when in idle mode to show the first entry in the directory. DIRECTORY EMPTY appears
30DirectoryDial, delete and edit a directory entryYou can dial, delete or edit the displayed directory entry.See Review directory entries on page 29 o
31DirectorySpeed dial locationsThe telephone base has 10 speed dial locations (0-9). Speed dial assignments can only be selected from existing directo
32DirectorySpeed dial locationsDial a speed dial numberWhen in idle mode, press and hold a dialing key (0-9) to display the desired speed dial entry.
33About caller IDThis product supports caller ID services offered by most telephone service providers. Caller ID allows you to see the name, number, d
34Caller IDCaller ID historyHow caller ID history (call log) worksThe telephone stores caller ID information about the last 50 incoming calls in the t
User’s manualEL52201/EL52251/ EL52301/EL52351/EL52401DECT 6.0 cordless telephone/ answering system with caller ID/call waitingTable of contentsGettin
35Caller IDCaller ID operationMissed (new) calls indicatorWhen you have calls that have not been reviewed, all handset idle screens show X(X) MISSED C
36Caller IDCaller ID operationView the caller ID historyReview the caller ID history to find out who called, to return the call or to copy the caller’
37Caller IDCaller ID operationDial a caller ID history numberWhile reviewing the caller ID history, press CID or DIR to browse through the caller I
38Caller IDCaller ID operationSave a caller ID history entry in the directoryWhile reviewing the caller ID history, press CID or DIR to browse throu
39Answering system settingsUse the answering system menu in the handset to turn the answering system on or off or change the settings for the outgoing
40Answering systemAnswering system settingsTo delete your announcement:Follow Steps 1-4 in To play the current announcement on page 39 to play the ann
41Answering systemAnswering system settingsCall screeningYou can choose whether or not incoming messages are played through the speaker on the telepho
42Answering systemAnswering system settingsRemote access codeTo access your answering system remotely from any touch-tone telephone, you need to enter
43Answering systemAnswering system settingsRecording timeYou can set the time limit for each message recorded to three minutes, two minutes, or one mi
44Answering systemAnswering system overviewAnswering system and voicemail indicatorsYour telephone has separate indicators for two different types of
Dial, delete and edit a directory entry ...30Dial a directory number ...30Delete a directory entry ...
45Answering systemAnswering system overviewVoice promptsThe system provides voice prompts to guide you to operate the answering system.Message capaci
46Answering systemAnswering system overviewIf call screening is on and you want to adjust the playback volume to a comfortable level (1-8) while it is
47Answering systemMessage playbackListen to messagesYou can use either a handset or the telephone base to play messages. If there are new messages, th
48Answering systemMessage playbackOptions during playbackWhen a message is playing, you can adjust the playback volume, skip, repeat, or delete the me
49Answering systemMessage playbackDelete all old messagesUse this feature to delete all old messages. Once deleted, you cannot retrieve the deleted me
50Answering systemRecording and playing memosMemos are messages you record yourself. They are saved, played and deleted exactly like incoming messages
51Answering systemMessage window displaysThe message window on the telephone base displays the total number of messages. See the table below for other
52Answering systemRemote accessYou can access the answering system remotely by dialing your home telephone number from any touch-tone telephone.Remote
53Answering systemRemote accessHang up to end the call and save all messages.There is a wallet card listing the remote commands at the back of this us
54AppendixScreen icons, indicator lights and alert tonesScreen icons(flashing)Low battery; place the handset in the telephone base or charger to charg
You must install and charge the battery before using the cordless handset.See pages 5 and 6 for easy instructions.Install the telephone base close to
55AppendixScreen icons, indicator lights and alert tonesTelephone base indicator lightsHandset alert tonesOne short beep (Key tone or playback confir
56AppendixHandset display screen messagesCALL LOG EMPTY You are accessing an empty caller ID history.CALL TRANSFERREDYou have transferred an outside
57AppendixHandset display screen messagesNOT AVAILABLE AT THIS TIMESomeone else is already using the directory, speed dial list, caller ID history or
58AppendixTroubleshootingIf you have difficulty with your telephone, please try the suggestions below. For customer service, or to purchase accessorie
59AppendixTroubleshootingMake sure you have a dial tone before dialing. The cordless handset may take a second or two to find the telephone base and p
60AppendixTroubleshooting Other electronic products such as HAM radios and other DECT phones can cause interference to your cordless telephone. Try in
61AppendixTroubleshootingIf your telephone is plugged in with a modem or a surge protector, plug the telephone (or modem/surge protector) into a diffe
62AppendixTroubleshootingDo not install this telephone near a microwave oven or on the same electrical outlet. You may experience decreased performanc
63AppendixTroubleshootingTest a working telephone at the telephone wall jack. If another telephone has the same problem, the problem is the telephone
64AppendixTroubleshootingA icon shows on the display and I don’t know why.Your telephone has voicemail indication that is separate from the built-i
2Quick reference guideGetting startedREDIAL/PAUSEPress repeatedly to review the last 10 numbers dialed (page 18).While entering numbers, press and ho
65AppendixTroubleshootingIf the memory is full or the answering system is off, the answering system answers after 10 rings.In some cases, the answerin
66AppendixTroubleshootingIf there is a fax machine connected to the same telephone line, try disconnecting the fax machine. If that solves the problem
67AppendixMaintenanceTaking care of your telephoneYour cordless telephone contains sophisticated electronic parts, so it must be treated with care.Avo
68AppendixSafety informationRead and understand all instructions in the user’s manual. Observe all markings on the product.Avoid using a telephone du
69AppendixImportant safety informationElectrical power: The telephone base of this cordless telephone must be connected to a working electrical outlet
70AppendixFCC Part 68 and ACTAThis equipment complies with Part 68 of the FCC rules and with technical requirements adopted by the Administrative Coun
71AppendixFCC Part 15This equipment has been tested and found to comply with the requirements for a Class B digital device under Part 15 of the Federa
72AppendixLimited warrantyThe AT&T brand is used under license - any repair, replacement or warranty service, and all questions about this product
73AppendixLimited warrantyHow do you get warranty service?To obtain warranty service in Canada, visit www.telephones.att.com or call 1 (866) 288-4268
74AppendixTechnical specificationsRF frequency band 1921.536MHz — 1928.448MHzChannels 5Operating temperature 32ºF — 122ºF0ºC — 50ºCTelephone base volt
Getting started3Quick reference guideUsing menusPress MENU/SELECT to enter the main menu.Press CID or DIR to scroll through menu items.Press MENU/SE
75AppendixIndexAAlert tones, 54Alphabetical search, 29Announcement, 39Answer a call, 17Answer an incoming call during an intercom call, 24Answering mo
76AppendixMenu, 10Message playback, 47–49Message window displays, 51Missed (new) calls indicator, 35Mute, 20NNumber of rings, 41PPause, 16Predialing (
AppendixRemote access wallet cardThe wallet card below lists the commands needed to control your answering system from any touch-tone telephone.Call y
© 2011 Advanced American Telephones. All Rights Reserved. AT&T and the AT&T logo are trademarks of AT&T Intellectual Property licensed to
4Getting startedTelephone base and charger installationInstall the telephone base and charger as shown below. If you subscribe to high-speed Internet
More documents for Telephones AT&T EL52251


Related products and manuals for Telephones AT&T EL52251
 (26 pages)
(16 pages)
(32 pages)
(17 pages)
(59 pages)
(82 pages)
(70 pages)
(2 pages)
(106 pages)
(86 pages)
(51 pages)
(36 pages)
(9 pages)
(26 pages)
(8 pages)
(33 pages)
(41 pages)
(71 pages)
(53 pages)
(182 pages)
(26 pages)
(16 pages)
(32 pages)
(17 pages)
(59 pages)
(82 pages)
(70 pages)
(2 pages)
(106 pages)
(86 pages)
(51 pages)
(36 pages)
(9 pages)
(26 pages)
(8 pages)
(33 pages)
(41 pages)
(71 pages)
(53 pages)
(182 pages)
© 2020, manymanuals.com. All rights reserved. | 3.447 s |
 Manymanuals.com
 Manymanuals.de
 Manymanuals.fr
 Manymanuals.it
 Manymanuals.pl
 Manymanuals.cz
 Manymanuals.es
 Manymanuals-pt.com
Comments to this Manuals