AT&T 9311 User Manual
Browse online or download User Manual for Telephones AT&T 9311. AT&T 9311 User`s manual
- Page / 18
- Table of contents
- BOOKMARKS
Summary of Contents
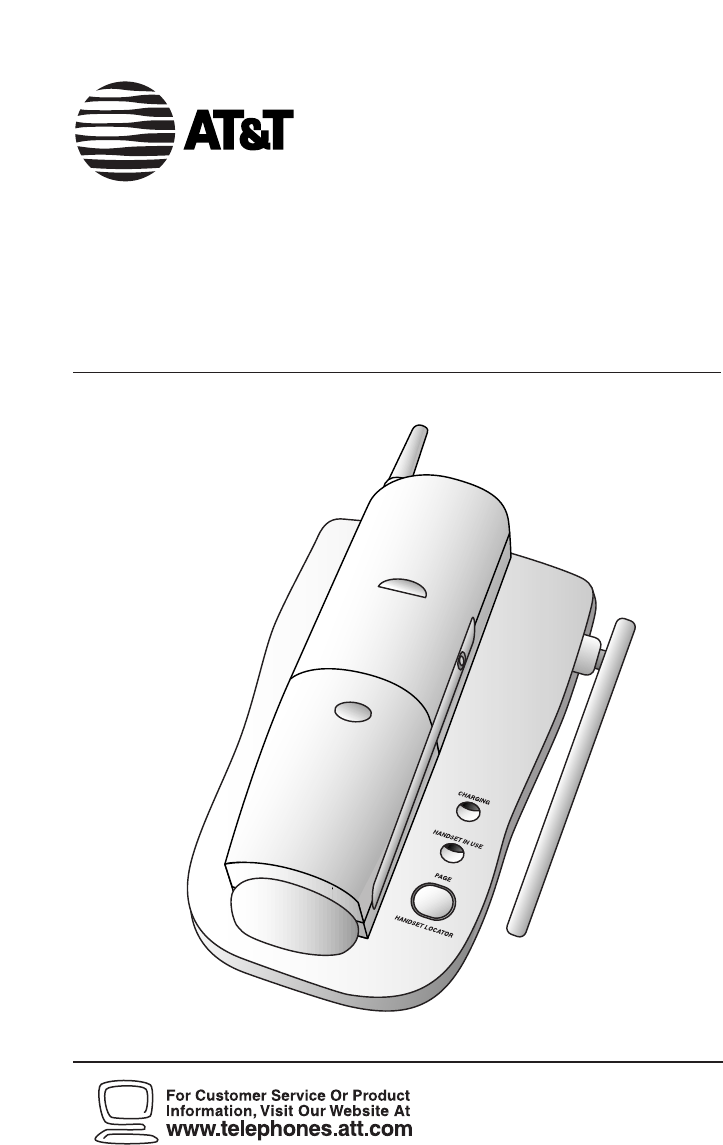
900 MHz Cordless Telephone 9311Please also readPart 1 — Important Product InformationUSER’S MANUAL Part 2AT&T and the globe symbol are registered
End a CallPlace handsetin base— OR —Press O.Exit programming.Cancel a page.TELEPHONE OPERATION8Handset VolumeAdjust volume ofwhat you hearthrough the
TELEPHONE OPERATION9Page/Handset LocatorPress once to pagethe handset for upto one minute— OR —Press twice to cancel.On steady when handset is in base
Temporary Tone DialingIf you have dial pulse (rotary) service,you can change from dial pulse totouch tone dialing during a call by pressing *. This is
Headset JackYou can use this telephone hands-free when you install a 2.5 mm headset(SKU 24099),purchased separately.Plug the headset into the jack loc
Store a Pause in a MemoryNumberPress to store atwo-secondpause in thedialing sequence.Each press addsanother two-second pauseand counts asone digit.TE
BATTERIES13Charging the Handset Battery PackThis battery should remain charged up to six days with the ringer turnedon and up to 12 days with the ring
Nickel-Cadmium Rechargeable Batteries must berecycled or disposed of properly. Do not dispose of inhousehold garbage. If burned,it could explode. Ifpu
IN CASE OF DIFFICULTY15If you have difficulty operating this phone,try the suggestions below.For Customer Service,visit our website at www.telephones.
If you hear noise or interference when using the phone:• Make sure the base antenna is fully upright.• You may be out of range. Move closer to the bas
© 2000 Advanced American Telephones. All rights reserved.Printed in China. 850001975 Issue 1AT&T 5/00
INSTALLATION . . . . . . . . . . . . . . . . . . . . . . 3Before You Install ...3Table/Desk Installation...5W
Before You Install1 Choose a location for the base near an electrical outlet and atelephone jack. This phone requires a modular telephone jack and a s
INSTALLATION43 Attach the belt clip to the cordless handset (optional).To attachTo remove
INSTALLATION53 Charge the handset battery.Place the handset in the base. Charge the battery for at least 24 hoursthe first time. After the first charg
INSTALLATION6Wall Installation1 Position the wall mount adapter on the base.2 Connect the telephone line cord.3 Connect the power cord. Align tabs on
INSTALLATION74 Mount the base on the wall.5 Follow Steps 3–5 in Table/Desk Installation.a) Align holes onbase withmounting studson wall jack.b) Place
More documents for Telephones AT&T 9311

Related products and manuals for Telephones AT&T 9311
 (40 pages)
(23 pages)
(40 pages)
(23 pages)
 (2 pages)
(7 pages)
(57 pages)
(60 pages)
(61 pages)
(13 pages)
(2 pages)
(7 pages)
(57 pages)
(60 pages)
(61 pages)
(13 pages)
 (120 pages)
(36 pages)
(43 pages)
(46 pages)
(12 pages)
(28 pages)
(23 pages)
(28 pages)
(17 pages)
(145 pages)
(61 pages)
(120 pages)
(36 pages)
(43 pages)
(46 pages)
(12 pages)
(28 pages)
(23 pages)
(28 pages)
(17 pages)
(145 pages)
(61 pages)
© 2020, manymanuals.com. All rights reserved. | 1.047 s |
 Manymanuals.com
 Manymanuals.de
 Manymanuals.fr
 Manymanuals.it
 Manymanuals.pl
 Manymanuals.cz
 Manymanuals.es
 Manymanuals-pt.com
Comments to this Manuals