AT&T 5845 User Manual
Browse online or download User Manual for Telephones AT&T 5845. AT&T 5845 User's Manual
- Page / 78
- Table of contents
- BOOKMARKS
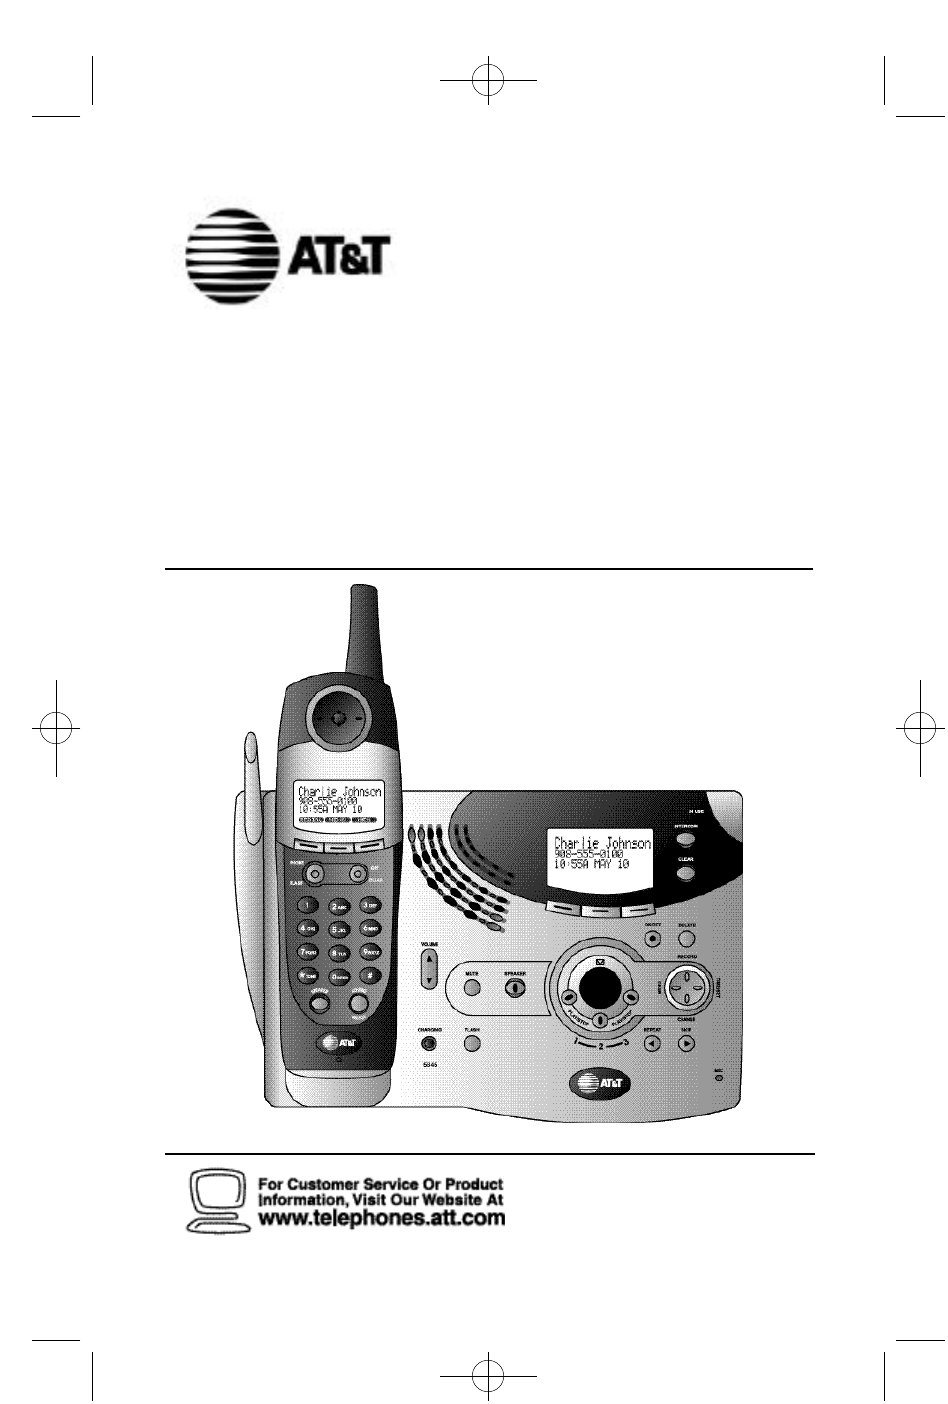
- 5.8 GHz Cordless Telephone 1
- Answering System 5845 1
- CONTENTS 3
- BEFORE YOU BEGIN 4
- About the Calls Log 5
- About Adding Handsets 5
- INSTALLATION 6
- About Handset Registration 8
- Wall Installation 9
- Belt Clip 11
- H e a d s e t 11
- FEATURE SETUP – HANDSET 12
- Clock Mode 13
- Sound Select 14
- Ringer Vo l u m e 15
- Ringer Melody 16
- Vibrate Contro l 17
- Low Batt To n e 18
- Range To n e 19
- Keypad To n e 20
- Set Contrast 21
- Language Setting 22
- FEATURE SETUP – BASE 23
- R i n g e r M e l o d y 24
- C o n t r a s t 26
- L a n g u a g e 27
- TELEPHONE OPERATION 28
- H a n d s e t 29
- Base S p e a k e r 29
- Handset Speakerphone 30
- Make a Call 31
- Dialing Options 31
- Answer a Call 31
- Save a Redial Number 32
- Delete a Redial Number 32
- Flash/Call Waiting 33
- Handset 35
- Te m p o r a ry Tone Dialing 36
- DISPLAY SCREEN MESSAGES 37
- HANDSET ICONS 38
- BASE ICONS 39
- BASE LIGHTS 39
- TONES AND WHAT THEY MEAN 40
- INTERCOM OPERATION 41
- Answering Interc o m 42
- End Interc o m 42
- Intercom Call 42
- Blind Call Tr a n s f e r 43
- Announced Call Tr a n s f e r 43
- C o n f e rence Calling 44
- PHONE BOOK 45
- Keypad Characters 46
- Dial a Number in Phone Book 47
- CALLER ID OPERATION 50
- Review Calls Log 51
- S t o re Record in Phone Book 51
- Display Dial 52
- Remove Call Record s 53
- Audible Indicators 54
- Tu rn Answering System On/Off 54
- Set the Clock 54
- About Mailboxes 55
- About Announcements 55
- R e c o rd Your Announcement 56
- FEATURE SUMMARY 58
- Play Messages 59
- Delete Messages 59
- Adjust Playback Vo l u m e 60
- Call Screening/Intercept 60
- Record a Memo 61
- MESSAGE WINDOW DISPLAY 62
- Voice Menu 63
- REMOTE ACCESS COMMANDS 64
- BATTERIES 65
- S p a re Battery 66
- IN CASE OF DIFFICULTY 68
- PROBLEM SOLUTION 69
- CALLER ID 71
- ANSWERING SYSTEM 72
- DEFAULT SETTINGS 74
- TECHNICAL SPECIFICATIONS 75
Summary of Contents
5.8 GHz Cordless Telephone Answering System 5845 with Caller ID/Call Wa i t i n gPlease also readPart 1 — Important Product InformationUSER’S MANUAL P
S p a re Battery / Power Failure BackupYou can buy a spare handset battery (AT&T Battery 2401,SKU# 91077,sold separately) and keep it charged in t
8Belt ClipYou can remove the belt clip from the handset.H e a d s e tYou can use this telephonehands-free when you installany industry standard 2.5mm
9F e a t u re Setup MenuPress the softkey under to enter the FeatureSetup menu. Use or to choosefeatures,then select to save your choice.¥NOTE: If
1 0Clock ModeYou can choose to display the time when the phone is idle at the handset,or you can turn this feature off.The default setting is .1 Pres
1 1Sound SelectThis telephone uses the latest acoustic re c e i ver design,p roviding you with four diffe rent s o u n d quality settings.During a cal
1 2Ringer Vo l u m eAdjust the vo l u m e of the handset ri n ge r. Setting thevolume so that no bars show on the graph turns theri n ger off.1 Press
1 3Ringer MelodyThe Ringer Melody sets which ri n ge r you hear whenyou have an outside call. The R i n ger Melody d e fa u l tsetting is ;t h e r e
1 4Vibrate Contro lWhen this feature is on,the handset vibrates when youhave an incoming call. The default setting is .1 Press ,then until the scre
1 5Low Batt To n eYou can set the handset to sound a t o n e when batteryp ower is low,or you can turn the tone off. D e fa u l tsetting is .1 Press
1 6Range To n eYou can set the handset to sound a t o n e when you area p p ro a ching the ra n ge limit,or you can turn this toneo ff. The default se
© 2002 Advanced American Telephones.All Rights Reserved. AT&T and the Globe Design aretrademarks of AT&T Corp., licensed to Advanced American
1 7Keypad To n eWhen this feature is on,each key press makes a sound.The default setting is .1 Press ,then until the screenhighlights .2 Press ,t
1 8Set ContrastYou can adjust the screen contrast for easy viewing.1 Press ,then until the screenhighlights .2 Press ,then until the screenhighli
1 9Language SettingYou can set each registered handset so the displayappears in English,Spanish or French. The defaultsetting is .1 Press ,then unt
2 0R i n g e r Vo l u m eSetting the vo l u m e so that no bars show on the gra p ht u rns the ri n ger off.1 P re s s . Use to highlight ,then press
2 1R i n g e r M e l o d y1 P re s s . Use to highlight ,then press .2 Highlight ,then press .3 P ress or to scroll thro u g height melodies and
2 2Dial Mode (To n e / P u l s e)This phone comes set for touch tone dialing. If youhave dial pulse (rotary) service, you must set the dialmode to .1
2 3C o n t r a s t1 P re s s . Use to highlight ,then press .2 Highlight ,then press .3 P ress or to decrease ori n c rease screen contra s t .4
2 4L a n g u a g e1 P re s s . Use to highlight ,then press .2 Highlight then press .3 P ress or to highlight desire dl a n g u age .4 Press to
2 5Make a CallAt the Handset1 Press ,then dial the number— OR —Dial the number,then press .2 To end the call,press or place the handsetin the base.
2 6VolumeH a n d s e tYou can adjust the volume of what you hear throughthe handset during a conversation by pressing or on the right side of the han
CONTENTSBEFORE YOU BEGIN. . . . . . . . . . . . . . . . . . 1Parts List. . . . . . . . . . . . . . . . . . . . . . . . . . . . . . . . . . . . . . . .
2 7Handset SpeakerphoneWhen the handset speakerphone is activated,you can use the phone hands-free. Stand the handset ona flat surface (not in the bas
2 8B a s e S p e a k e r p h o n eYou can use the base speakerphone to answer calls,orto make calls from the Caller ID log.Make a Call1 Press ,then
2 9RedialThe last ten phone numbers dialed at the handset are stored in redial memory.1 Press then press or to scroll through the numbers in redialme
3 0Flash/Call WaitingIf you subscribe to Call Waiting service with your localtelephone service provider,you can answer a newincoming call without losi
3 1M u t eH a n d s e t1 During a telephone conversation,mute thehandset microphone by pressing .The other party will be unable to hearanything on yo
3 2H o l dHandset ¥N O T E : When a call is on hold, the screen displays. If the clock feature is on, thismessage will be displayed for five seconds,
3 3Te m p o r a ry Tone DialingIf you have dial pulse (rotary) service, you can changefrom dial pulse to touch tone dialing during a call.1 Make the c
3 4DISPLAY SCREEN MESSAGESSCREEN DISPLAYS: WHEN:You have an incoming phone call (withoutCaller ID).You have an incoming call from [],for example . On
HANDSET ICONSTHIS ICON: INDICATESLine In Use indicatorOn steadily with no number next to it when anotherphone on this line is in use.On steadily with
3 6BASE ICONSTHIS ICON: INDICATESRinger Off indicatoris displayed when the ringer is turned off.Battery indicatorCycles (Low,Medium,and Full) when a b
P a rts ListYour box should include:1BEFORE YOU BEGINNiMH battery packPower cordWall mount adapterTelephone line cordsHandsetBase unitWallet CardThis
TONES AND WHAT THEY MEANTONE: INDICATES:Three quick beeps Battery charge is lowOne beep Handset registration is complete— OR —A programming command is
3 8I n t e rcom CallsIf you have more than one handset (AT&T 5800,purchased separately) registered with your 5840 base,you can make intercom calls
3 9Answering Interc o mAt handset,press .At base,automatically answered.End Interc o mAt handset,press .At base,press .Answer an Incoming Call Whil
4 0Blind Call Tr a n s f e rIf you have installed additional AT&T 5800 handsets(purchased separately) with your 5840 telephone, youcan transfer a
4 1C o n f e rence Calling1 If one handset is already on a call, you canconnect a second handset to the call bypressing on the second handset — OR —I
4 2PHONE BOOKThis telephone can store up to 50 telephone numbersand names. E a ch number can be up to 32 digits longand each name can be up to 16 ch a
Keypad CharactersD i a l P re s s e sK e y 1 2 3 4 5 6 7 8 9&’, . 1A B C a b c 2D E F d e f 3G H I g h i 4J K L j k l 5M N O m n o 6P Q R S p q r
4 4Dial a Number in Phone Book1 Press . The screen displays2 P ress or to scroll throughmemory in alphabetical order— OR —Enter the first letter of
4 5Edit a Number/Name in Phone Book1 Press . The screen displays2 P ress or to scroll throughmemory in alphabetical order— OR —Enter the first lett
4 6Delete a Number/Name in Phone Book1 Press . The screen displays2 P ress or to scroll throughmemory in alphabetical order— OR —Enter the first le
About Caller Identification (Caller ID)This product has a Caller ID with Call Waiting feature that works withservice from your local phone service pro
4 7If you subscribe to Caller ID service with your local phone serviceprovider,this phone stores all incoming calls (up to 50 at the handset,up to 99
4 8Review Calls Log1 Press ,then press . The screendisplays the most recent call in the calls log.2 P ress or to scroll through callrecords.S t o
4 9Display DialWhile you are reviewing the calls log, you can dial anumber displayed on the screen. You can change theformat of the number using “Dial
5 0Remove Call Record sRemoving a Specific Call Record1 Press ,then press .2 P ress or to scroll through callrecords until the call you want to de
5 1Audible IndicatorsThis system gi ves you voice pro m p t s for fe a t u reo p e rations and voice confi rmations when you press abutton or complete
5 2About MailboxesThis answe ring system has three voice mailboxe s. C a l l e rs using a t o u cht o n e phone can select the mailbox in which their
5 3R e c o rd Your Announcement¥NOTE: If you have assigned different mailboxesto different people, be sure to tell callers in yourannouncement to pre
5 4Answering System Feature SetupYou can set up one feature at a time,or you can set upa feature and then move on to set up another feature.1 Make sur
FEATURE SUMMARYDefault settings indicated by *.SYSTEM ANNOUNCES: DESCRIPTION/DIRECTIONS:“Change remote access code” Set the remote access code you 50
5 6Listen to, Save & Delete MessagesThe system automatically saves your messages untilyou delete them,and can store approximately 15minutes of mes
Table/Desk Installation¥NOTE: Install this telephone away from electronic equipment,such as personal computers, television sets or microwave ovens.Av
5 7Adjust Playback Vo l u m ePress VOLUME or VOLUME to adjust the basespeaker volume while playing back messages.Call Screening/Intercept1 M a ke su
5 8Record a MemoYou can re c o rd a memo up to four minutes long to store asan incoming message .1 Press and release .2 Press a PLAY/STOP button to s
5 9MESSAGE WINDOW DISPLAYWINDOW DISPLAYS: WHEN:No messages in any mailbox– Total number of messages in all mailboxes,or current message number duringm
Connect with the Answering SystemYou can access many features of this system remotely from a touchtone phone.1 Dial your telephone number.2 When the s
REMOTE ACCESS COMMANDSFUNCTION: COMMAND:Play messages Press ,then enter the appropriate in a mailbox mailbox number( , ,or ). The systemplays new m
Battery LifeA fully charged battery provides an average talk time of about eighthours,or standby time of five days.¥NOTE: Talk time and standby time
S p a re BatteryYou can buy a spare handset battery (AT&T Battery 2401,SKU# 91077,sold separately) and keep it charged in the base at all times.In
Replace the Handset Battery Pack1 Install the handset battery.Use onlyAT&T Battery 2401,SKU# 91077.2 Charge the handset battery.• Place the handse
6 5If you have difficulty operating this phone,try the suggestions below.For Customer Service,visit our website at www.telephones.att.comor call 1 800
PHONEPROBLEM SOLUTIONTo re-initialize the 1 Disconnect the power to the base.handset and base:2 Remove spare battery pack (if installed).3 Remove th
3 Install the handset battery.Use onlyAT&T Battery 2401,SKU# 91077.4 Charge the handset battery.• Place the handset in the base.• Charge the batte
PHONEPROBLEM SOLUTIONIf the phone does not • Make sure the ringer is on.ring when you receive • Make sure the telephone line cord isa call:connected
CALLER IDPROBLEM SOLUTIONIf the caller’s name or • Make sure you subscribe to Caller IDphone number is not service from your local telephone displa
6 9ANSWERING SYSTEMPROBLEM SOLUTIONIf messages are • If a caller leaves a very long message,incomplete: part of it may be lost when the systemdisconn
ANSWERING SYSTEMPROBLEM SOLUTIONIf appears in the You need to reset the cl o ck . The answe ri n gmessage window: system clock is not set automatic
DEFAULT SETTINGSFUNCTION: DEFAULT SETTING:Dial Method ToneHandset Volume 2Ringer Volume 3Ringer Melody 1Key Tone ONRemote Access Code 50Clock ONMessag
TECHNICAL SPECIFICATIONSRF Frequency Band 2400 MHz – 2483.5 MHz(Handset to base)RF Frequency Band 5725 MHz – 5850 MHz(Base to handset)Number of Channe
A46,50Announce Only 52,55,59,71announcements 52,56BBase 1,25,28,31,39,40,66,72Base icons 36Base lights 36Base ringer 20,2120–24Base Unit See Base11bat
IIdle Screen 938,40interference 66,70K17L19,24long tone 65Low Batt Tone 15low battery 35,6262M42memos 569MessageAlert 55message window 56,58MessageWin
S9,42,45,489sound quality settings 1111Spanish 19Spare Battery 7, 63Speaker 26,5725,27–29,39,40,49Speakerphone 11,27,28standby time 62subscriber servi
5About Handset Registration1 The cordless handsets that came with your system are automaticallyregistered as Handset 1,and Handset 2.There is no need
Wall Installation1 Connect the power cord andtelephone line cord to the undersideof the corded base, as shown (figure a).2 Position the mounting brack
More documents for Telephones AT&T 5845

Related products and manuals for Telephones AT&T 5845
 (73 pages)
(44 pages)
(8 pages)
(7 pages)
(60 pages)
(6 pages)
(31 pages)
(25 pages)
(8 pages)
(5 pages)
(8 pages)
(39 pages)
(8 pages)
(28 pages)
(61 pages)
(85 pages)
(36 pages)
(10 pages)
(79 pages)
(12 pages)
(73 pages)
(44 pages)
(8 pages)
(7 pages)
(60 pages)
(6 pages)
(31 pages)
(25 pages)
(8 pages)
(5 pages)
(8 pages)
(39 pages)
(8 pages)
(28 pages)
(61 pages)
(85 pages)
(36 pages)
(10 pages)
(79 pages)
(12 pages)
© 2020, manymanuals.com. All rights reserved. | 2.233 s |
 Manymanuals.com
 Manymanuals.de
 Manymanuals.fr
 Manymanuals.it
 Manymanuals.pl
 Manymanuals.cz
 Manymanuals.es
 Manymanuals-pt.com
Comments to this Manuals